Building step by step
How a house with a smart electrical installation grows.
From the plans to the handover: see what happens on site when, and where we come in. Just keep scrolling and the house grows with you.
Step 1 · Plans
We start before the first spade goes in.
We sit down with you over the architect’s plans. We talk through how you want to live and mark where every control, sensor and the distribution board will go. That becomes the plan for your smart electrical installation, and the build follows it.
Ideally with the plans in hand, before the electrical design
Step 2 · Foundations
We choose technology that works together.
Heat pump, ventilation with heat recovery, shading, solar with a battery, the wallbox and the gate. We choose them with you so that one system can control them all. Picked one by one, each tends to come with its own app and its own remote.
While the foundations are poured, before the technologies are ordered
Step 3 · Shell
While the walls go up, we choose the lights.
Where the light goes and what kind: downlights in the kitchen, a strip above the counter, a light over the dining table, the terrace. Every light needs its own cable, so we close the lighting plan before the rough-in starts.
While the shell goes up
Step 4 · Rough-in
Cables into the walls. Now is the moment.
After the roof and windows, before the plaster, the electrician pulls the cables to our plan: the bus to every module, power to the lights and sockets, everything into one distribution board. Use your own electrician, or we can recommend one. A cable missing now can usually only be added later by opening the wall.
After roof and windows, before plaster
Step 5 · Plaster and fit-out
The cables disappear. The switch stays.
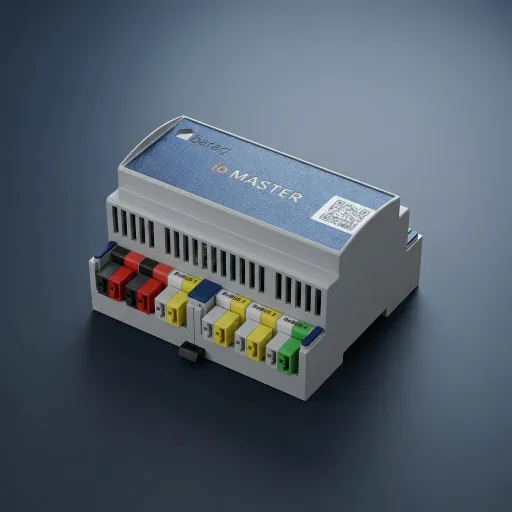
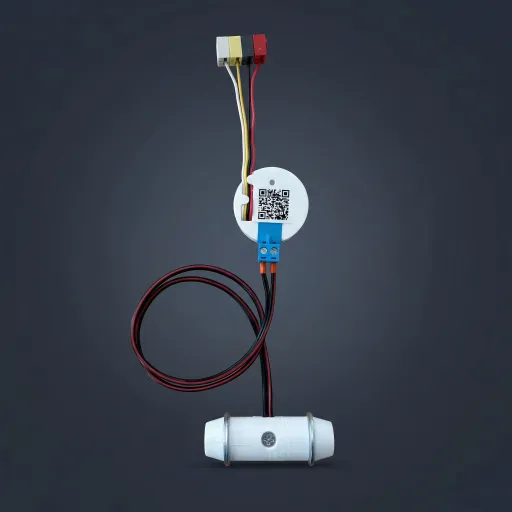
Plaster and floors hide the runs. After the painters the modules go in: ioMASTER into the board, ioSWIPE controls on the wall, presence sensors on the ceiling, flood sensors wherever water could leak. We then register the controls and sensors with the ioMASTER controller. Work on 230 V is always done by a qualified electrician.
After plaster and paint
Step 6 · Handover
The house comes alive and it’s yours.
We commission the system, set up the scenes and walk you through the app and the wall controls. Once you have moved in, we fine-tune everything to how you actually live.
At handover and after you move in


Next step
Building or planning? Get in touch while the plan is still open.
We help most at the start, before the electrical design is final. All we need to know is whether it’s a house or a flat, what stage you’re at and what you want the home to do.
The whole process at a glance
- 1
We start before the first spade goes in.
Ideally with the plans in hand, before the electrical design
- 2
We choose technology that works together.
While the foundations are poured, before the technologies are ordered
- 3
While the walls go up, we choose the lights.
While the shell goes up
- 4
Cables into the walls. Now is the moment.
After roof and windows, before plaster
- 5
The cables disappear. The switch stays.
After plaster and paint
- 6
The house comes alive and it’s yours.
At handover and after you move in